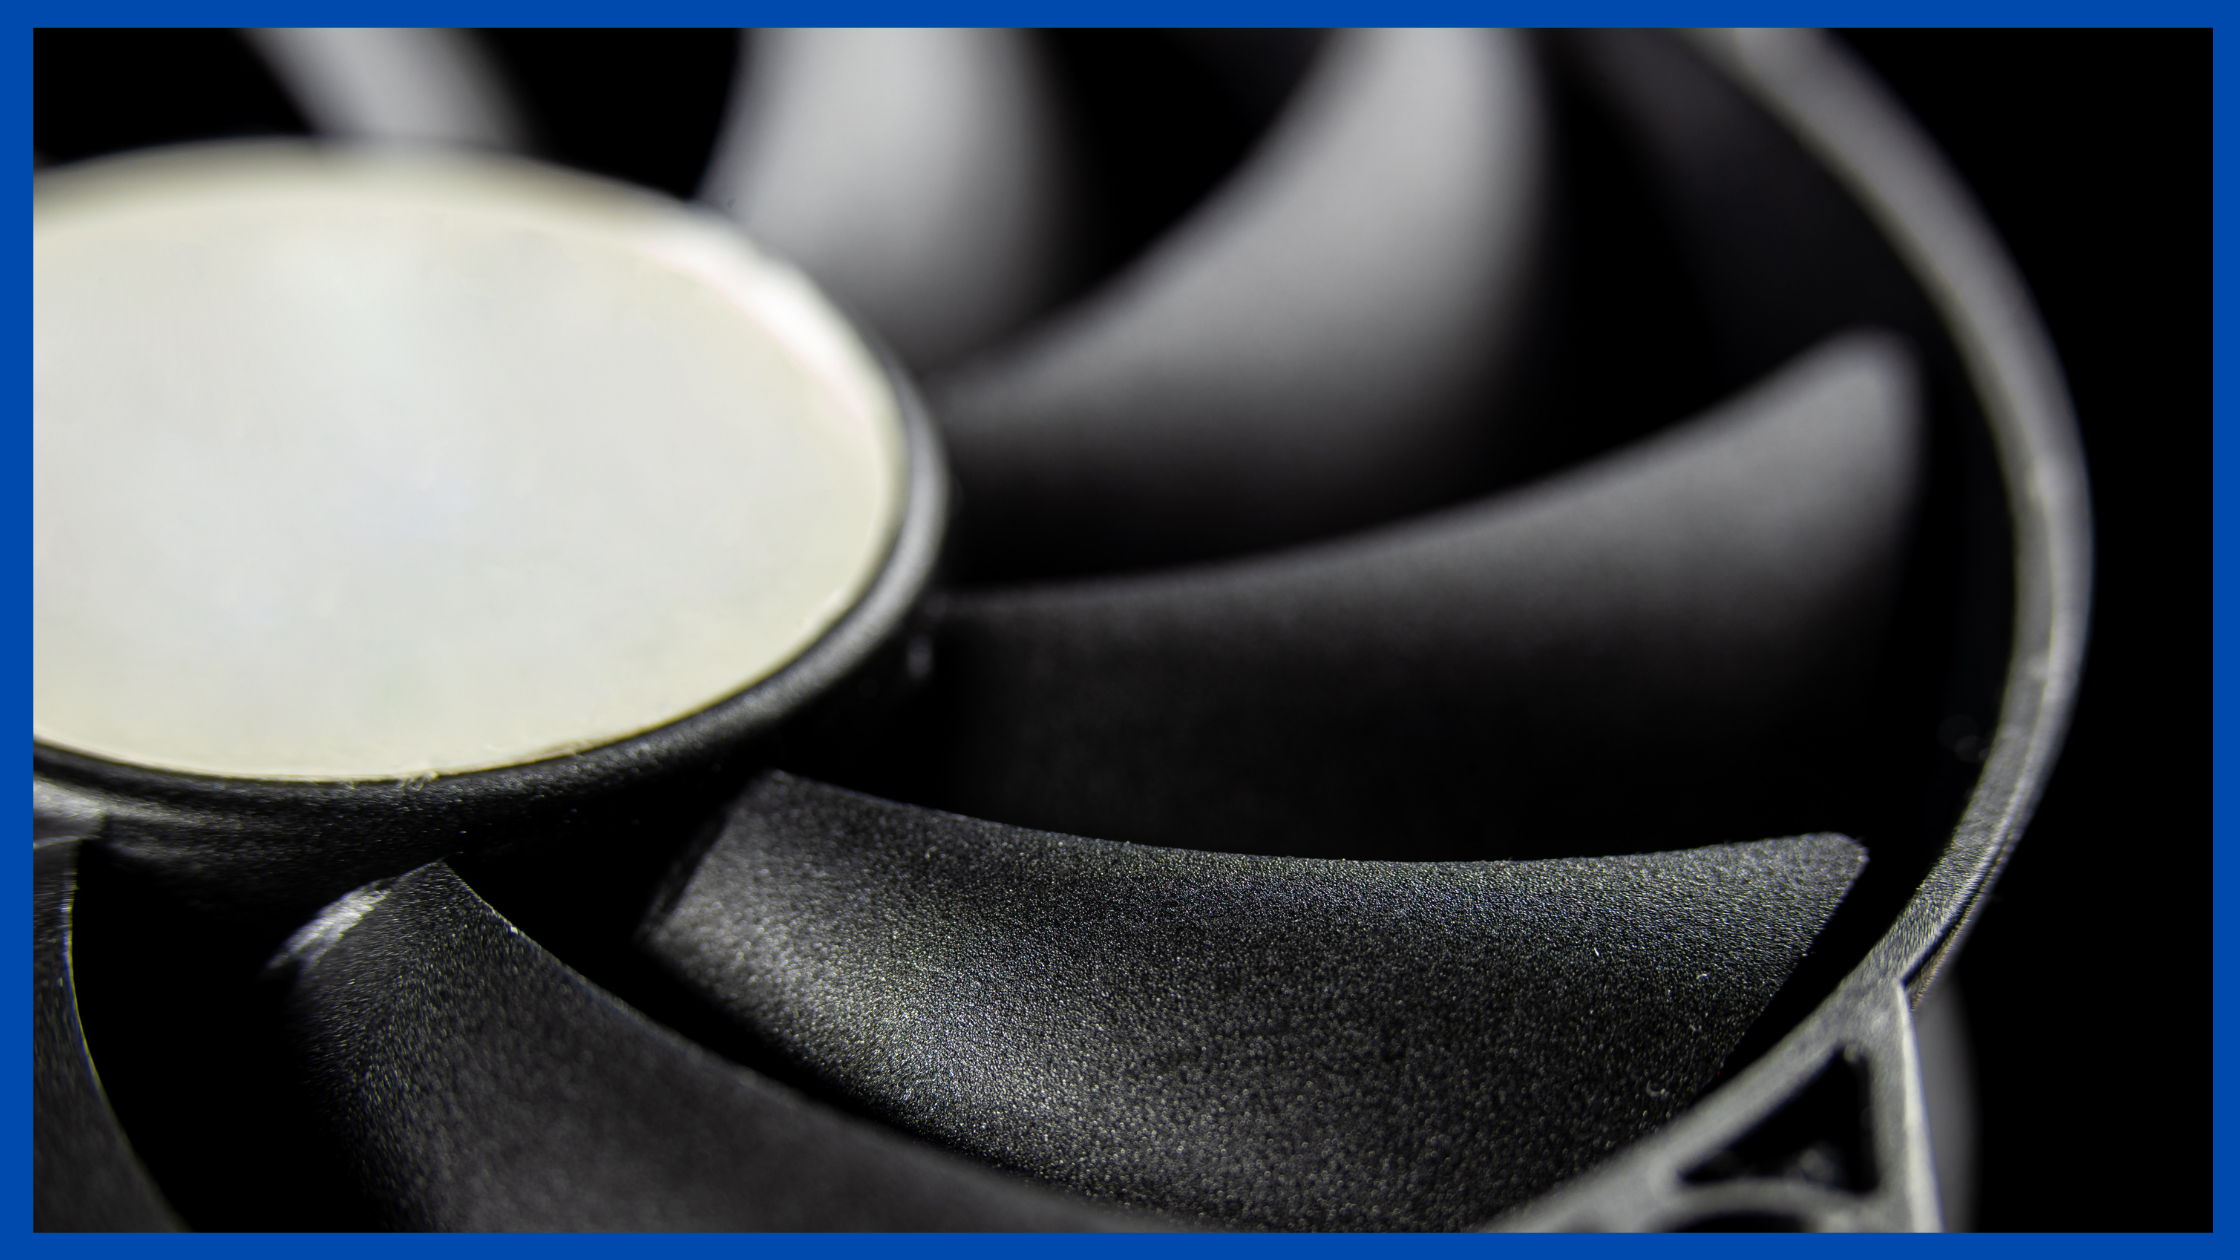
If your computer is overheating, the first thing you should do is remove the CPU fan. It can help to keep the computer cooler and allow it to run more smoothly.
Most enthusiasts know that it is essential to clean the heatsink before removing or installing a CPU fan when it comes to CPUs.
However, removal of a CPU fan typically requires Shut Down the Computer. In this article, you get all the things related to What Is the First to Do Before Removing CPU Fan.
List Of Things First to Do Before Removing CPU Fan
Here is the list of things you can do before removing the CPU. These things must be beneficial for you, and you can get a good guide about these things:
- Disconnect the Fan
- Shut Down the Computer
- Unplug the Power Cable
- Remove the Battery
- Loosen the screws that hold the fan in place
- Gently remove the fan
1. Disconnect the Fan
Your computer’s cooling system is essential for keeping your processor running smoothly. If the fan fails or becomes clogged with dust and debris, your computer may overheat and suffer permanent damage.
Before removing the CPU fan, you should first disconnect it from the motherboard. It will prevent the fan from spinning uncontrollably and potentially causing injury.
Once the fan is disconnected, you can safely remove it from the motherboard. Be sure to clean any dust or debris from the fan blades and housing before reattaching it to the motherboard.
2. Shut Down the Computer
To avoid damaging the computer, it is essential to shut down the system before removing the CPU fan properly.
First, make sure that the computer is turned off. If it is not, hold down the power button until it turns off. Once it is off, unplug all of the cords from the back of the machine.
Then, wait at least five minutes for everything inside the computer to cool down. After five minutes have passed, you can safely remove the fan by unscrewing it from the motherboard.
3. Unplug the Power Cable
When removing the CPU fan, it is essential to unplug the power cable from the back of the computer. It will prevent any accidental shocks.
Once the power cable has been unplugged, remove the screws that secure the fan. Gently remove the fan and set it aside. Be careful not to touch any of the internal components with your hands.
4. Remove the Battery
Removing the battery is the first to do before removing the CPU fan. If you want to clean your laptop, it is essential to remove the battery and unplug the power cord.
It will prevent any accidental damage to your device.
")
5. Loosen the Screws that hold the fan in place
The fan is an integral part of a computer. It helps keep the laptop running cool. Before removing the fan, you need to loosen the screws that hold it.
It will make it easier to remove the fan. Once the screws are relaxed, you can pull the fan out of the computer.
6. Gently remove the fan.
When it comes time to remove the CPU fan, there are a few things you need to do to prevent any damage. The first step is to ensure the computer is turned off and unplugged from the wall.
Once that is done, you will want to remove the side panel of the computer case. It will give you access to the motherboard and CPU.
Then, it would be best if you located the CPU fan and gently removed it from the motherboard. Take care not to touch any of the components on the motherboard, as this could cause damage. Once the fan is removed, you can replace it with a new one or clean it.
7. Clean the CPU fan blades with a soft brush or compressed air
Cleaning the CPU fan blades with a soft brush or compressed air can help keep your computer running smoothly.
By keeping the edges clean, you can improve airflow and reduce the dust and dirt that accumulates on the fan. It can help to prevent overheating and keep your computer running efficiently.
What Happens if the CPU Fan Is Removed?
If you remove the CPU fan, the motherboard will overheat and eventually be damaged. The CPU fan is responsible for cooling the central processing unit (CPU) on the motherboard.
When the CPU gets too hot, it can’t function properly and can be permanently damaged. If you’re having problems with your computer overheating, it’s probably because the CPU fan isn’t working correctly. In most cases, you can replace the CPU fan yourself if it’s not working correctly.
How Do I Remove a CPU Fan Without Damaging?
Removing a CPU fan can be a daunting task, but cleaning or replacing the fan is essential. If done incorrectly, you could damage the motherboard or CPU.
Here’s how to remove a CPU fan without damaging your computer:
- Shut down your computer and disconnect it from power.
- Unscrew the screws that hold the fan in place and remove it from the motherboard.
- Gently pull on the fan cable to disconnect it from the motherboard connector.
- If you need to clean or replace the fan, slide off the protective coverings on either side of the fan blades.
- Carefully insert a screwdriver into one of the blade slots and twist to remove the blade. Do not use excessive force, or you could damage the knife or motherboard.
When Should I Remove the CPU Fan?
Removing the CPU fan can be beneficial in a few ways:
- It makes cleaning the CPU easier.
- It can help improve the cooling of the CPU if there is an issue with the fan.
- It can help reduce noise if there is a problem with the fan.
However, before removing the fan, you should consider a few things.
- First, if the fan is not working correctly, it should be replaced.
- Second, removing the fan could cause overheating issues if the CPU is overclocked.
- Finally, it would be best to clean off dust or other debris accumulation on the heatsink or CPU before removing the fan.
Final Thoughts
In conclusion, before removing the CPU fan, it is essential to check if it is the cause of the problem. If it is, unplug the fan and remove the screws that hold it in place.
Carefully remove the fan, and be sure to avoid touching the delicate components on the motherboard.